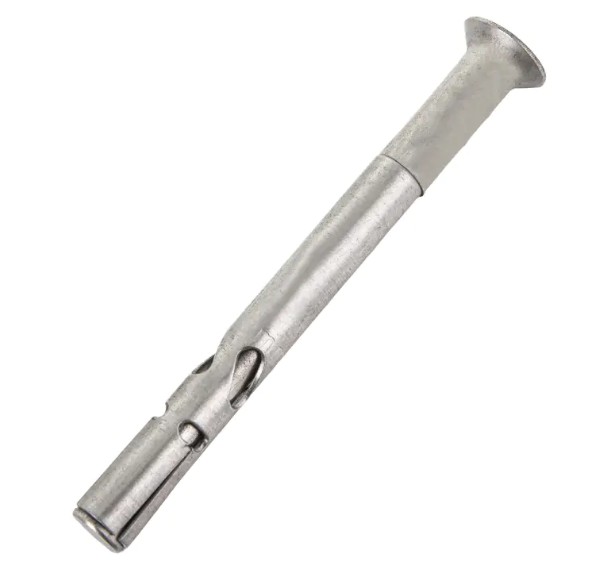
Countersunk sleeve anchors are commonly used to secure items to concrete, masonry, or other solid materials. The countersunk design allows the anchor to sit flush with the surface, creating a clean and professional look. Here's how to use countersunk sleeve anchors correctly:
-
Select the right size and type: Choose the appropriate size and type of countersunk sleeve anchor for your specific application. Consider the weight and load requirements of the item you are securing to ensure you select anchors with sufficient capacity.
-
Drilling: Use a drill with the correct size masonry bit to create a hole in the concrete or masonry surface where you want to install the anchor. The hole should be slightly deeper than the length of the anchor.
-
Clean the hole: Remove any debris or dust from the hole using a wire brush or compressed air to ensure a secure fit for the anchor.

-
Insert the anchor: Insert the countersunk sleeve anchor into the hole, ensuring that the threaded end is facing up. Tap the anchor gently with a hammer to make sure it is seated securely in the hole.
-
Tighten the nut: Insert the item you want to secure (e.g., a bracket or fixture) over the threaded end of the anchor. Then, place a washer and nut over the threaded end and tighten the nut with a wrench until it is snug against the item being secured. Avoid over-tightening, as it may damage the anchor or the surface.
-
Countersinking: If necessary, use a countersink tool to create a recessed area around the nut, allowing it to sit flush with the surface. This step is essential for achieving a clean and professional finish.
-
Check alignment: Before final tightening, double-check the alignment of the secured item to ensure it is level and straight.
-
Test the anchor: After installation, test the anchor by applying some pressure or weight to the secured item to ensure it is securely held in place.
-
Maintenance: Periodically inspect the countersunk sleeve anchors to check for any signs of wear, corrosion, or loosening. Replace any damaged or worn anchors promptly to maintain their effectiveness.
-
Safety precautions: Always wear appropriate safety gear, such as safety goggles and work gloves, when installing countersunk sleeve anchors.
Remember that the specific installation process may vary depending on the manufacturer and the type of countersunk sleeve anchor you are using. Always follow the manufacturer's instructions and guidelines provided with the anchors for the best results.


 English


